
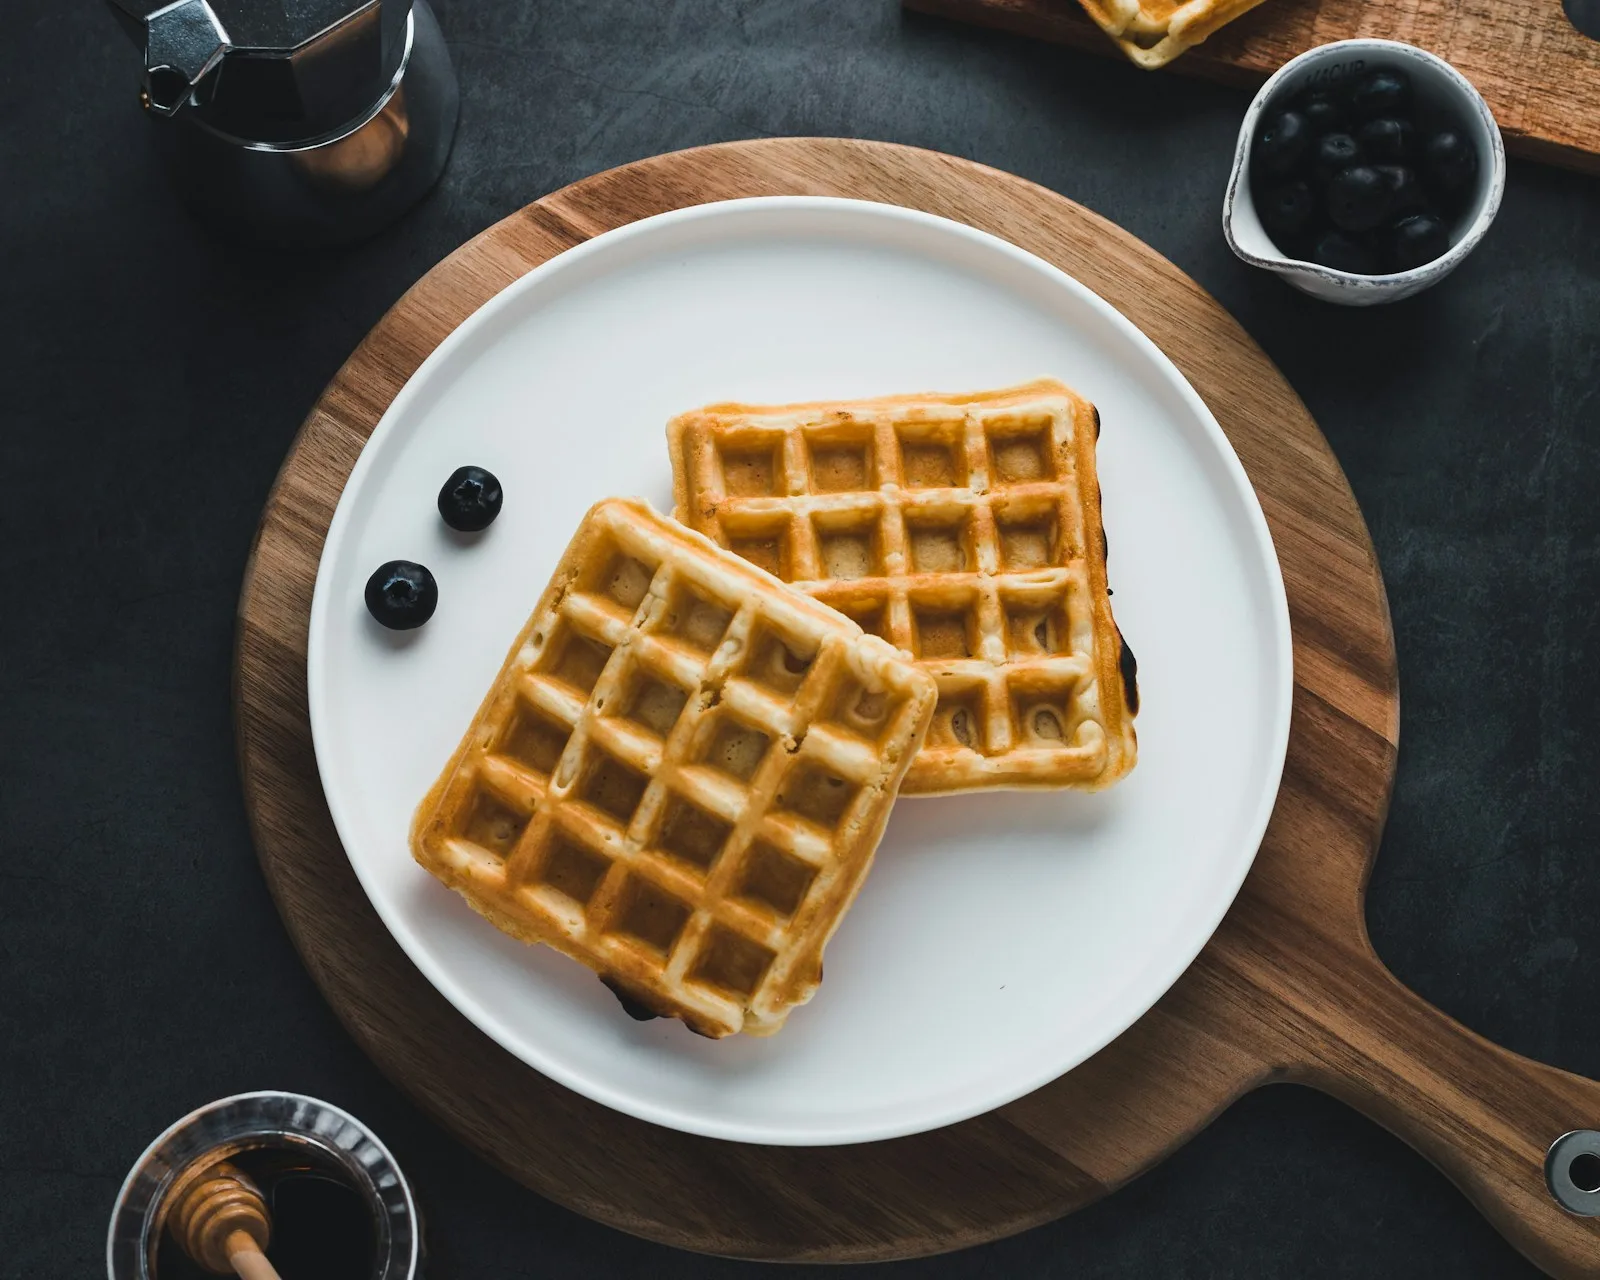
Nothing compares to waking up on a Saturday morning to the intoxicating aroma of golden, buttery waffles baking in a hot iron. But not just any waffle—an authentic Belgian waffle recipe that delivers a shatteringly crisp exterior, deep square pockets ready to hold pools of melted butter, and an airy, feather-light interior that never turns soggy.
What Makes a Belgian Waffle Truly Authentic?
Unlike regular thin American eggo-style waffles, authentic Belgian waffles are distinguished by two key features: deep grid pockets and a distinctly light, fluffy, almost soufflé-like interior crumb with a crisp exterior crust. Achieving this signature contrast at home comes down to two crucial culinary techniques:
- Separating the Eggs (The Whipped White Secret): By separating the egg whites and whipping them into glossy stiff peaks before gently folding them into the batter, you incorporate thousands of microscopic air pockets. This gives the waffle tremendous rise and a melt-in-your-mouth cloud texture.
- Cornstarch + Melted Butter: Adding a touch of cornstarch to all-purpose flour absorbs excess moisture and lowers the gluten formation, guaranteeing a waffle that stays shatteringly crisp for minutes after leaving the waffle maker.
Ingredients for Crispy Belgian Waffles
Here is everything you will need for 6 to 8 restaurant-style Belgian waffles:
- All-Purpose Flour: 1 3/4 cups (220g), spooned and leveled.
- Cornstarch: 1/4 cup (32g) for superior, long-lasting crunch.
- Baking Powder: 1 tablespoon for instant explosive lift in the iron.
- Baking Soda: 1/2 teaspoon for even golden browning.
- Granulated Sugar: 2 tablespoons.
- Fine Salt: 1/2 teaspoon.
- Whole Milk: 1 3/4 cups (420ml), warm or room temperature.
- Unsalted Butter: 1/2 cup (1 stick / 115g), melted and cooled.
- Eggs: 2 large eggs, whites and yolks carefully separated.
- Pure Vanilla Extract: 1 1/2 teaspoons.
Step-by-Step Cooking Instructions
1. Preheat Your Belgian Waffle Maker: Plug in your deep-pocket Belgian waffle maker and set it to medium-high heat. A thoroughly preheated iron is essential for an immediate crispy sear.
2. Whisk the Dry Ingredients: In a large mixing bowl, whisk together the flour, cornstarch, baking powder, baking soda, sugar, and salt.
3. Whisk the Wet Base: In a medium bowl, whisk together the egg yolks, whole milk, melted butter, and vanilla extract until smooth.
4. Whip Egg Whites to Stiff Peaks: In a clean, dry glass or metal bowl, beat the 2 egg whites with an electric hand mixer on high speed for 2 to 3 minutes until stiff peaks form (when you lift the beaters, the peaks stand straight up without drooping).
5. Combine Gently: Pour the wet yolk mixture into the dry flour bowl and stir just until combined. Next, gently fold in one-third of the whipped egg whites to lighten the batter, then fold in the remaining whites with a spatula until no white streaks remain. Do not overmix!
6. Bake to Golden Perfection: Lightly brush or spray the waffle iron plates with oil. Pour about 1/2 to 2/3 cup of batter into the center of the grid (depending on your iron size). Close the lid and cook for 4 to 6 minutes until steam stops escaping and the waffle is deep golden and crisp. Serve immediately!
Serving Ideas & Keep-Crisp Trick
Serve with a generous dust of powdered sugar, freshly sliced strawberries, ripe blueberries, whipped cream, or warm pure maple syrup. For savory weekend brunch lovers, pair these with hot honey crispy fried chicken for the ultimate chicken and waffles experience!
The Oven Crisp Hack: If cooking for a crowd, never stack hot waffles on a plate—the trapped steam will turn them limp. Instead, place baked waffles directly on a wire rack inside a 225°F (110°C) oven. They will stay hot and even crisper until everyone is ready to eat!
More Brunch Favorites to Make Next
If you love golden waffles, you will also adore our tall Fluffy Pancakes, comforting Berry Baked Oatmeal, and melt-in-your-mouth Moist Banana Bread.
The Culinary Secrets Behind The Ultimate Crispy Belgian Waffle Recipe (Golden, Deep Pockets & Airy)
Few homemade creations bring as much joy and comforting satisfaction to the table as a properly executed The Ultimate Crispy Belgian Waffle Recipe (Golden, Deep Pockets & Airy). Whether you are cooking for a relaxed family dinner, preparing nutritious weekly meal prep, or entertaining friends with vibrant American dining, this recipe has been meticulously tested and calibrated to deliver restaurant-quality results with accessible pantry ingredients.
Too often, homemade versions of Breakfast favorites suffer from either becoming dry, lacking depth of seasoning, or requiring cumbersome specialty tools. By understanding the core culinary science behind precise temperature oven baking, you can consistently achieve the golden textural contrast, tender interior, and balanced flavors that define professional cooking.
Chef Emily's 4 Professional Kitchen Secrets
- Quality Foundation with 1 3/4 cups (220g) all-purpose flour: The foundational flavor of this dish relies on using fresh, high-grade ingredients. Taking the time to properly prep and measure your components ensures balanced moisture and seamless caramelization during cooking.
- Precision Temperature Management: Avoid the temptation to rush the cooking process. Cooking at the calibrated temperature allows proteins to tenderize and starches to gelatinize evenly without scorching or weeping moisture.
- Layering Seasonings at Every Stage: Rather than seasoning only at the very end, introducing aromatics, herbs, and fine sea salt in stages builds compound flavor layers that permeate deep into every bite.
- Mandatory Resting Period: Whether dealing with baked proteins, warm casseroles, or fresh bakes, allowing the dish to rest for 5 to 10 minutes off the heat is critical. Resting stabilizes internal steam and redistributes flavorful juices evenly throughout the dish.
Smart Ingredient Substitutions & Customizations
- Dietary & Gluten-Free Options: Depending on your household needs, standard flour or breadcrumbs can be substituted 1:1 with certified gluten-free blends or blanched almond flour without compromising the final texture.
- Dairy Adjustments: For a lighter or dairy-free profile, swap heavy dairy components for unsweetened cashew cream, full-fat canned coconut milk, or high-quality plant-based butter.
- Aromatic & Herb Variations: Feel free to customize the herbal profile with fresh thyme, rosemary, chopped cilantro, or sweet Italian basil to complement whatever seasonal sides you are serving.
Make-Ahead, Reheating & Safe Storage Guidelines
This dish stores remarkably well, making it an outstanding candidate for make-ahead planning. Allow leftovers to cool completely to room temperature before transferring to an airtight glass container.
- Refrigeration: Store chilled in the refrigerator for up to 4 days. Reheat gently in an oven or over medium-low stovetop heat with a splash of broth or water to preserve moisture.
- Freezing Instructions: Wrap securely in freezer-safe parchment and heavy-duty foil, or portion into freezer bags. Freeze flat for up to 3 months. Thaw overnight in the refrigerator before gently reheating.



Comments & Reader Questions (0)
Tried this recipe or have a question? Post a comment below using your Google account. Whenever someone replies to your comment, you will receive an instant notification in your inbox!